Use cloning for photobashing, image rubbing, or turning a photo into a painting. The basic idea of cloning is to paint with a photo by sampling its colors or pixels.
There are three cloning modes:
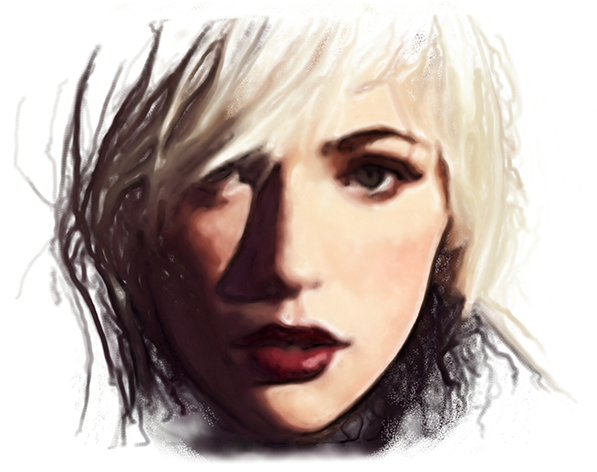
Use Rub for photobashing or to bring back finer details after using the Smear or Smart cloning modes.
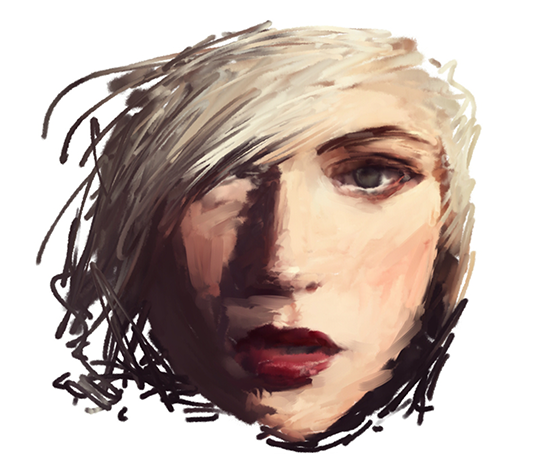
Copies the photo onto the brush head, smears the pixels when moving fast.
Detail - Ranges from averaging the pixel colors to copying each pixel to the brush head.
Opacity - The transparency of the brush head. Decrease to soften the effect.
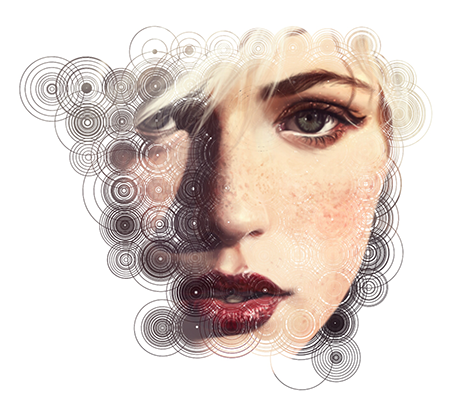
Generates a flurry of small brushes that follow the flow and edges of the image.
Stroke length - The maximum length a brush stroke can grow before it regenerates.
Mix-in - Defines how much the stroke color mixes in with the image as the brush steps through the image. At 0%, the brush will use only the initial color it samples. At 100%, the brush will change to the color it is currently sampling.
Smart rotation - At 0%, the brush rotates based on the trajectory the artist is painting. At 100%, the brush rotates along the path it is tracing.
Edge contrast - This will brighten or darken the brush color when approaching an edge. This is similar to how a cartoon artist might add an outline to the edges of a face. This feature becomes more prominent when the brush strokes are smaller.
Complete strokes - When active, the engine will only apply strokes when they are finished.
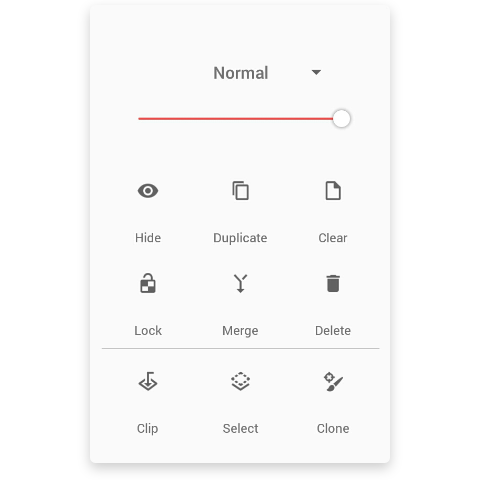
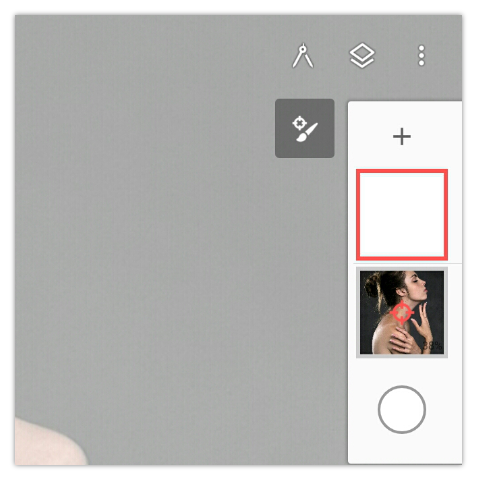
When cloning, the engine needs a layer to sample colors from. This is called the Source layer. The Source layer has a red target on its layer preview.
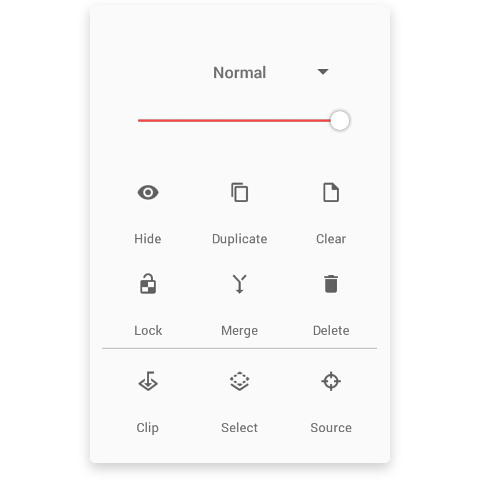
Open the layer options with cloning enabled and press the Source option.